The three-step job wizard: core info, compensation and fee, description and notes.
Jobs in Yena are your mandates. Create one when a client gives you a search.
1
Core info
In Jobs, click Add Job. Step one takes the role title, the client company (create the company first under Clients), owner, status, employment type, and location. Quick Create skips the rest if you’re in a hurry.
Step 1 of the job wizard
2
Compensation and fee
Type the salary range as you’d say it (“EUR 42k - 48k”) and Yena parses it into a structured range. Set the fee type (fixed or percentage) so deal value shows up in reporting, and drop a source link if the role came from somewhere.
3
Description and internal notes
A rich-text job description (client-facing) and internal notes (team-only). Then Create Job.
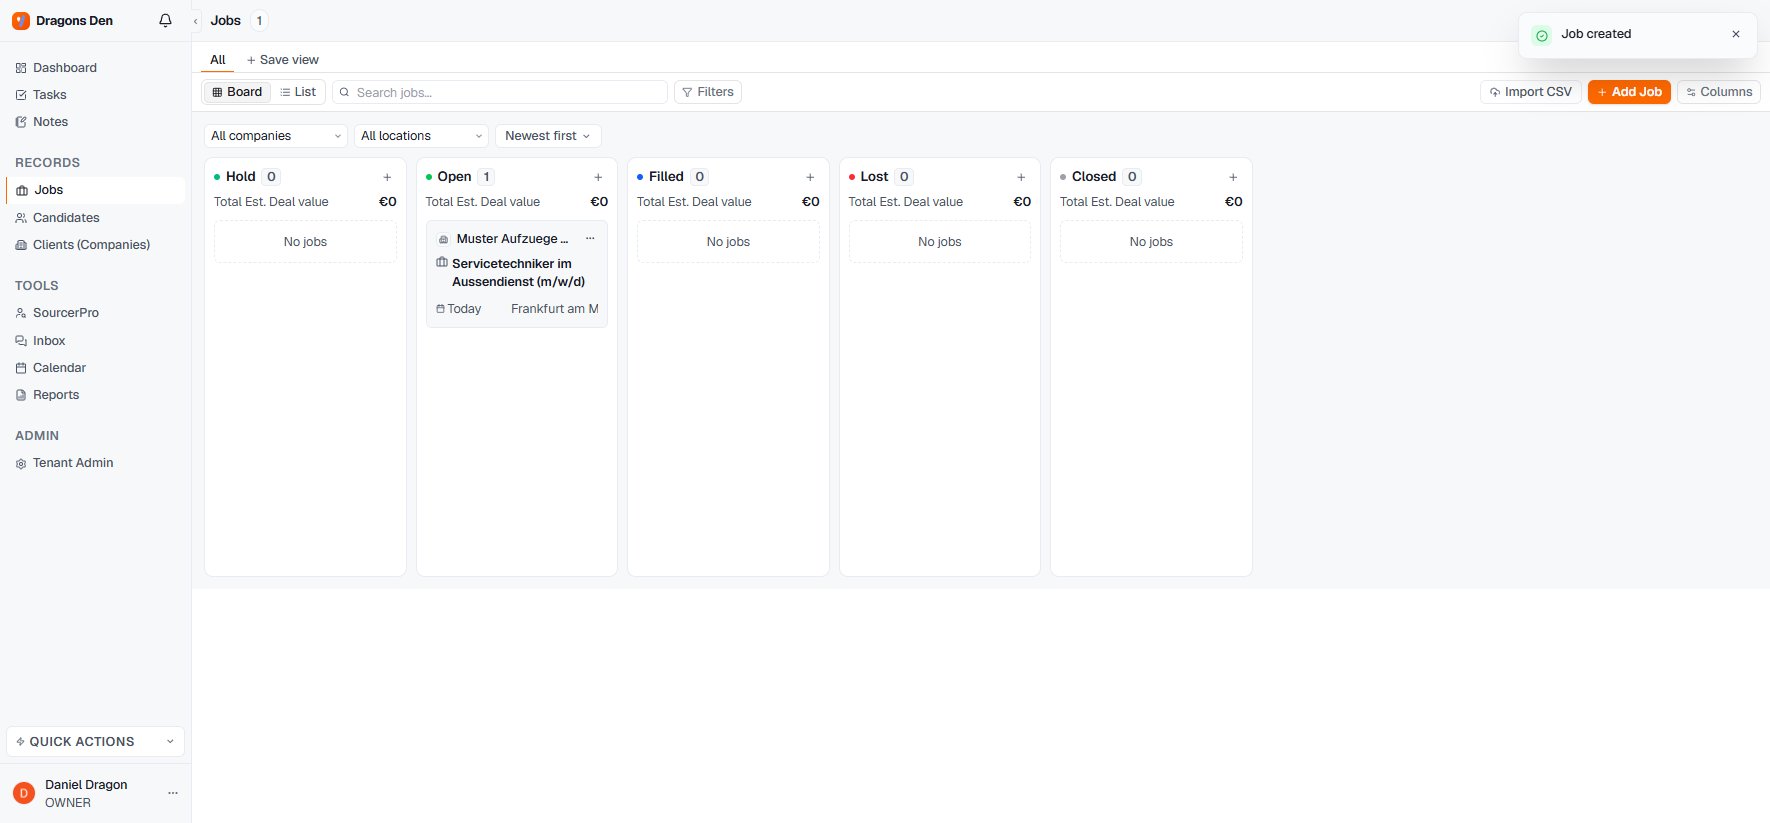
Mandates live on a board with deal-value totals per column: Hold, Open, Filled, Lost, Closed. Switch to list view for bulk work, or import existing jobs via CSV.
In the jobs list, one click on the project title opens the project. That is the only thing a click on the title does.Renaming sits in two deliberate places instead: the header of the project itself, and the row menu at the end of the line.Nothing turns into an editable text box under your cursor, so a click meant to open a mandate can no longer rename it by accident.