

- Self-serve — spreadsheets, CV files and your browser. Most firms have their core data in within an afternoon.
- With our team — a full transfer from your previous system, including the things a spreadsheet can’t carry: applications with their pipeline stages, notes, placements and activity history.
What you can bring yourself
The order matters: companies first, then jobs, then candidates. Records link up as they arrive — a candidate whose company already exists lands attached to it.
Candidates from a spreadsheet
Export your candidates from your old system as CSV or Excel — both work, including older Excel formats — and go to Candidates → Import CSV. The wizard walks four steps: upload, map columns, review, import.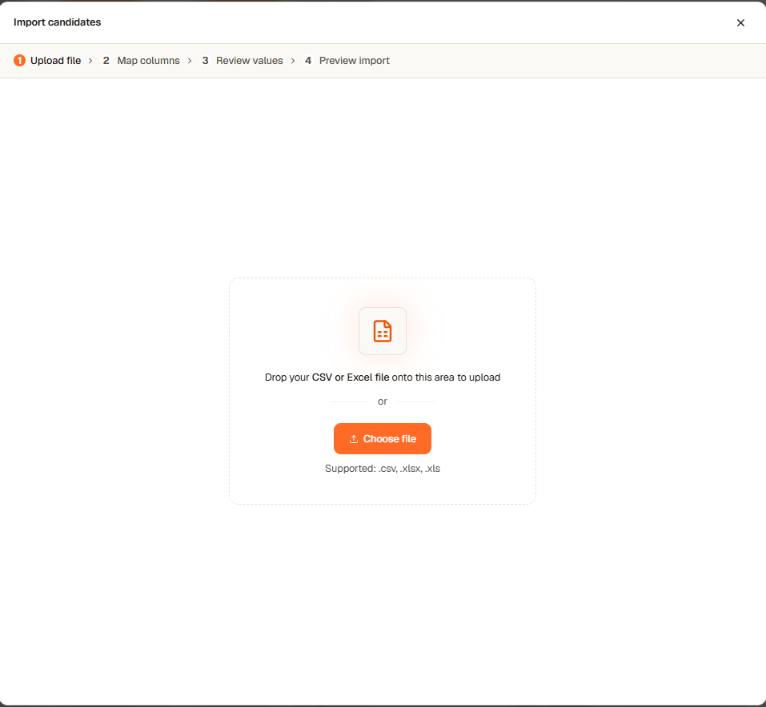
- No duplicates. A row matching an existing record by email, LinkedIn or phone is merged into it, never duplicated — and the merge adds information without erasing what’s already there. Name-only matches are never auto-merged: two people can share a name.
- Companies come along. Company names in your candidate rows are matched against your client list; existing companies get linked, new ones are created automatically, and each imported candidate lands attached to theirs.
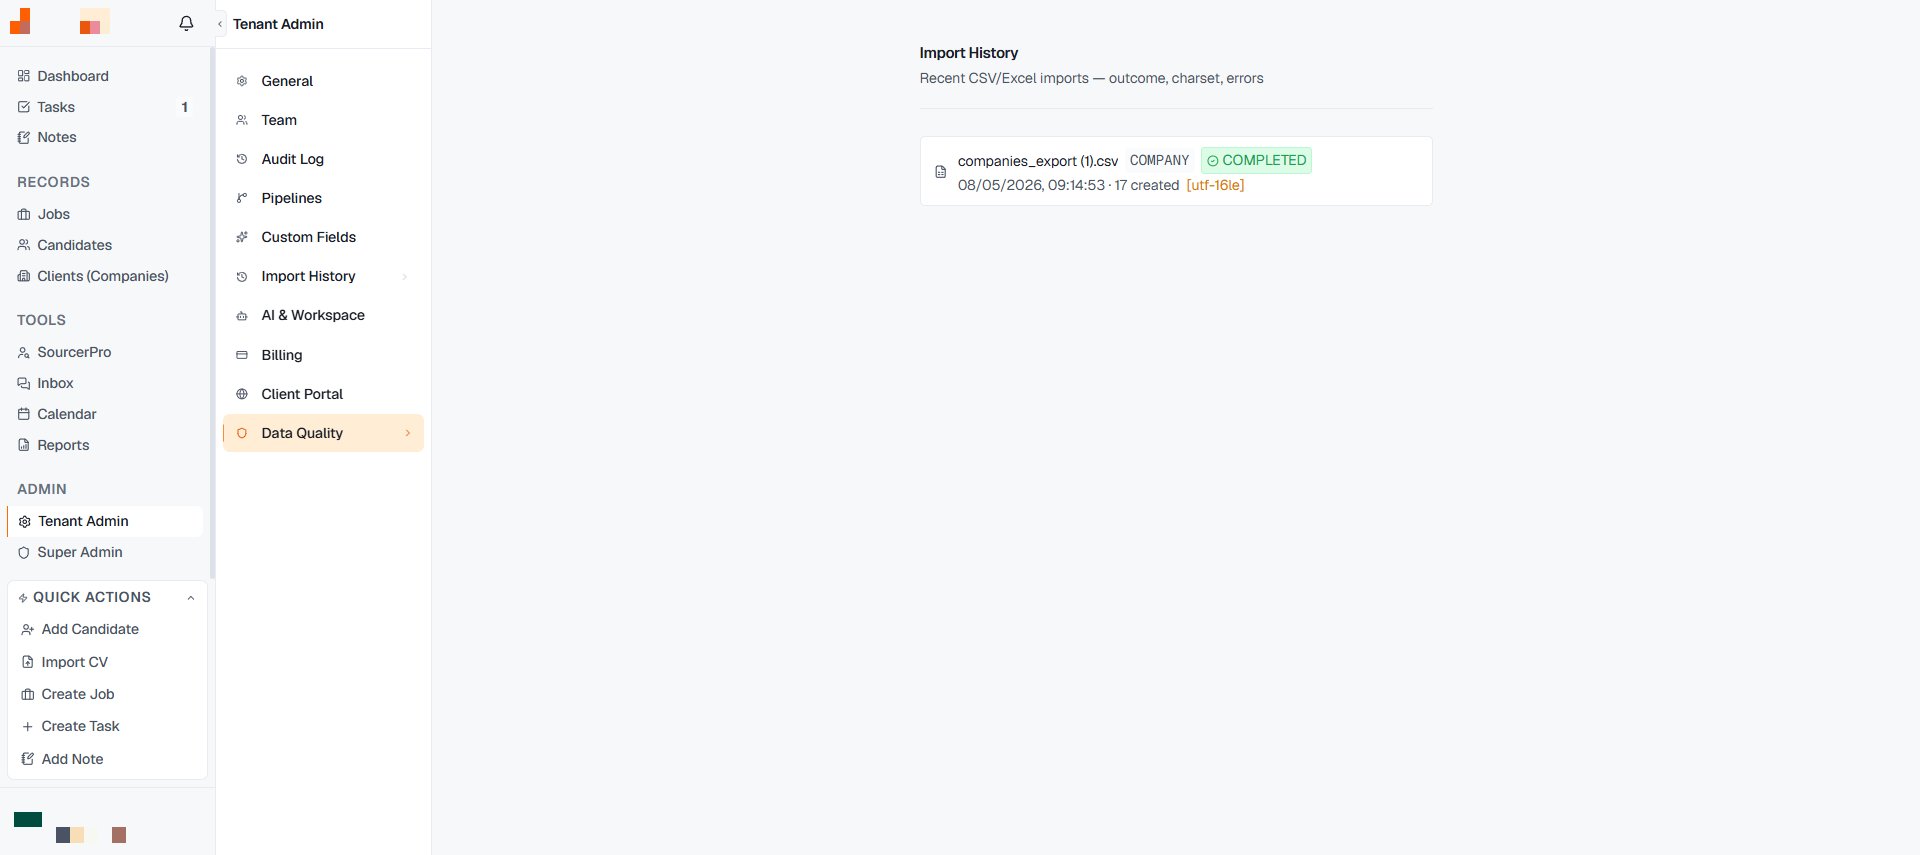
- Everything is logged. Tenant Admin → Import History records every run — what was created, merged and skipped — so you can prove what came in.
Candidates from CV files
The stack of CVs that never made it into your old system is data too. Candidates → Import CV takes up to 20 files per batch — PDF, Word, RTF, ODT, even photographed CVs — and parses each one into a full candidate record: every role with its description, education, skills, languages and the candidate’s summary. On Pro and Team plans a batch can be up to 1,000 files.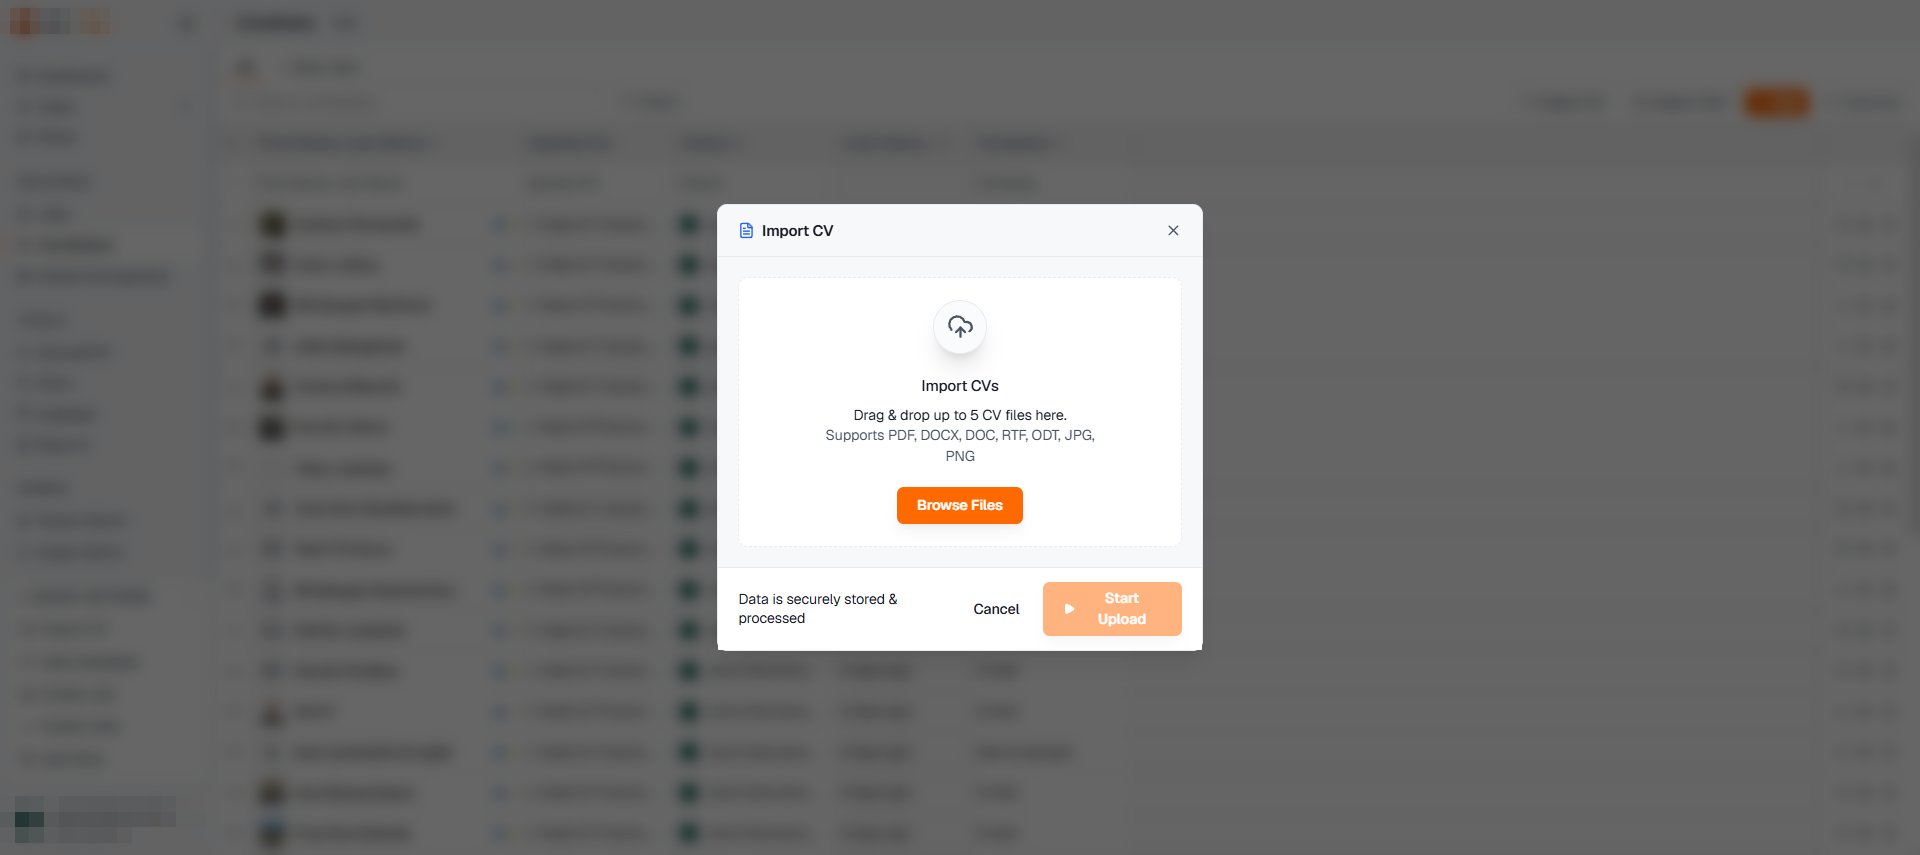
LinkedIn profiles
The browser extension imports a full profile — headline, work history with descriptions, education, skills, languages — straight into Yena, and can drop the candidate onto a job’s pipeline or into a list at the same time. For sourcing-driven firms this is the fastest way to keep building the database while you migrate. See the extension guide.Clients and jobs
- Clients: Clients (Companies) → Import CSV. Name and domain are enough to start; the mapper also carries billing details (VAT, IBAN, addresses) if your export has them. Existing companies are recognized and skipped, not duplicated.
- Jobs: Jobs → Import CSV carries open roles with fees, project numbers and dates, linking each to its company by name. You can also scan a client’s careers page from their company record to pull in their live vacancies as draft jobs.
Full migration with our team
Spreadsheets can’t carry your pipeline history. If you want to keep:- applications — which candidate sat at which stage of which job,
- notes and attached files,
- placements and historical fees,
- activity history,
After the import
1
Spot-check ten records
Open a handful of imported candidates. Are they linked to the right company? Did custom fields land? Is the CV attached?
2
Read Import History
Tenant Admin → Import History shows created / merged / skipped counts per run. Skipped rows list their reason — fix the source and re-run just those.
3
Check Data Quality
Data Quality shows which records are missing the fields your reporting needs — the honest picture of what your old system actually held.
4
Rebuild your daily view
The old system’s real job was the view you kept open all day. Rebuild it with filters and a saved view — then retire the old system. Running both is how migrations die.