> ## Documentation Index
> Fetch the complete documentation index at: https://support.yena.ai/llms.txt
> Use this file to discover all available pages before exploring further.
# Bringing your data into Yena
> Every route your candidates, clients and jobs can take into Yena — self-serve in an afternoon, or a full ATS transfer with our team.
Your database is your business. A recruiting firm that switches systems doesn't start over — it brings years of candidates, client relationships and placement history along. This guide covers both ways to do that:
* **Self-serve** — spreadsheets, CV files and your browser. Most firms have their core data in within an afternoon.
* **With our team** — a full transfer from your previous system, including the things a spreadsheet can't carry: applications with their pipeline stages, notes, placements and activity history.
Not sure which you need? If your old system can export CSV files and your CVs live in folders, self-serve covers you. If you want your full pipeline history to survive the move, [contact us](https://www.yena.ai/contact) about a managed migration.
## What you can bring yourself
| Data | Where | How |
| ----------------- | ------------------------------------ | ------------------------------------------------------ |
| Candidates | **Candidates → Import CSV** | CSV or Excel export from any system |
| CVs | **Candidates → Import CV** | Up to 20 files per batch — up to 1,000 on Pro and Team |
| Clients | **Clients (Companies) → Import CSV** | Your client list with billing details |
| Jobs | **Jobs → Import CSV** | Open roles, fees and project numbers |
| LinkedIn profiles | Browser extension | Full profile content, one click |
The order matters: **companies first, then jobs, then candidates**. Records link up as they arrive — a candidate whose company already exists lands attached to it.
## Candidates from a spreadsheet
Export your candidates from your old system as CSV or Excel — both work, including older Excel formats — and go to **Candidates → Import CSV**. The wizard walks four steps: upload, map columns, review, import.
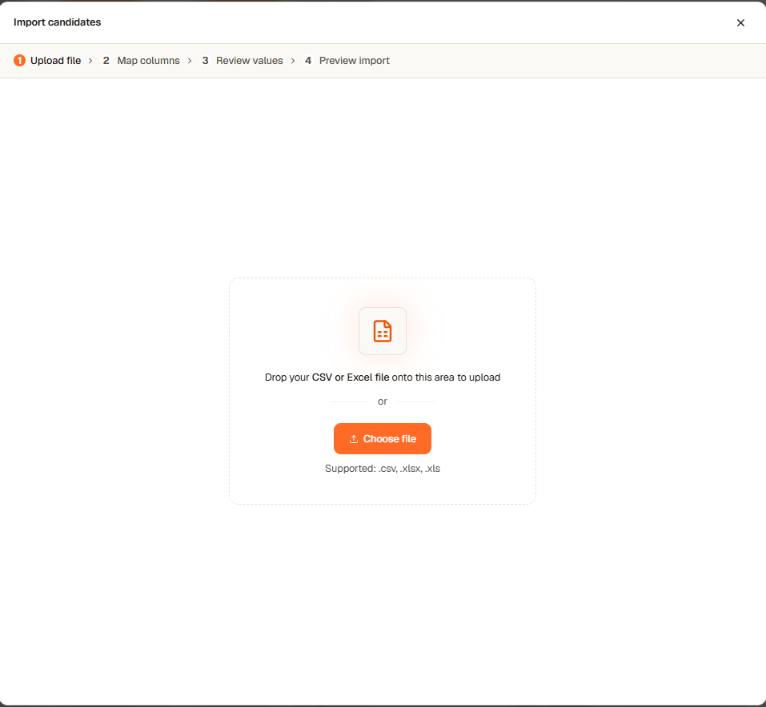 **Mapping is where migrations are won.** The wizard reads your headers and maps the obvious ones itself — names, emails, phones, LinkedIn, salary, availability, even billing fields. Anything it doesn't recognize you can map to one of your custom fields, or create a new custom field on the spot. Your mapping is remembered, so the second file with the same layout maps itself.
Three things happen on import that protect your data:
* **No duplicates.** A row matching an existing record by email, LinkedIn or phone is merged into it, never duplicated — and the merge adds information without erasing what's already there. Name-only matches are never auto-merged: two people can share a name.
* **Companies come along.** Company names in your candidate rows are matched against your client list; existing companies get linked, new ones are created automatically, and each imported candidate lands attached to theirs.
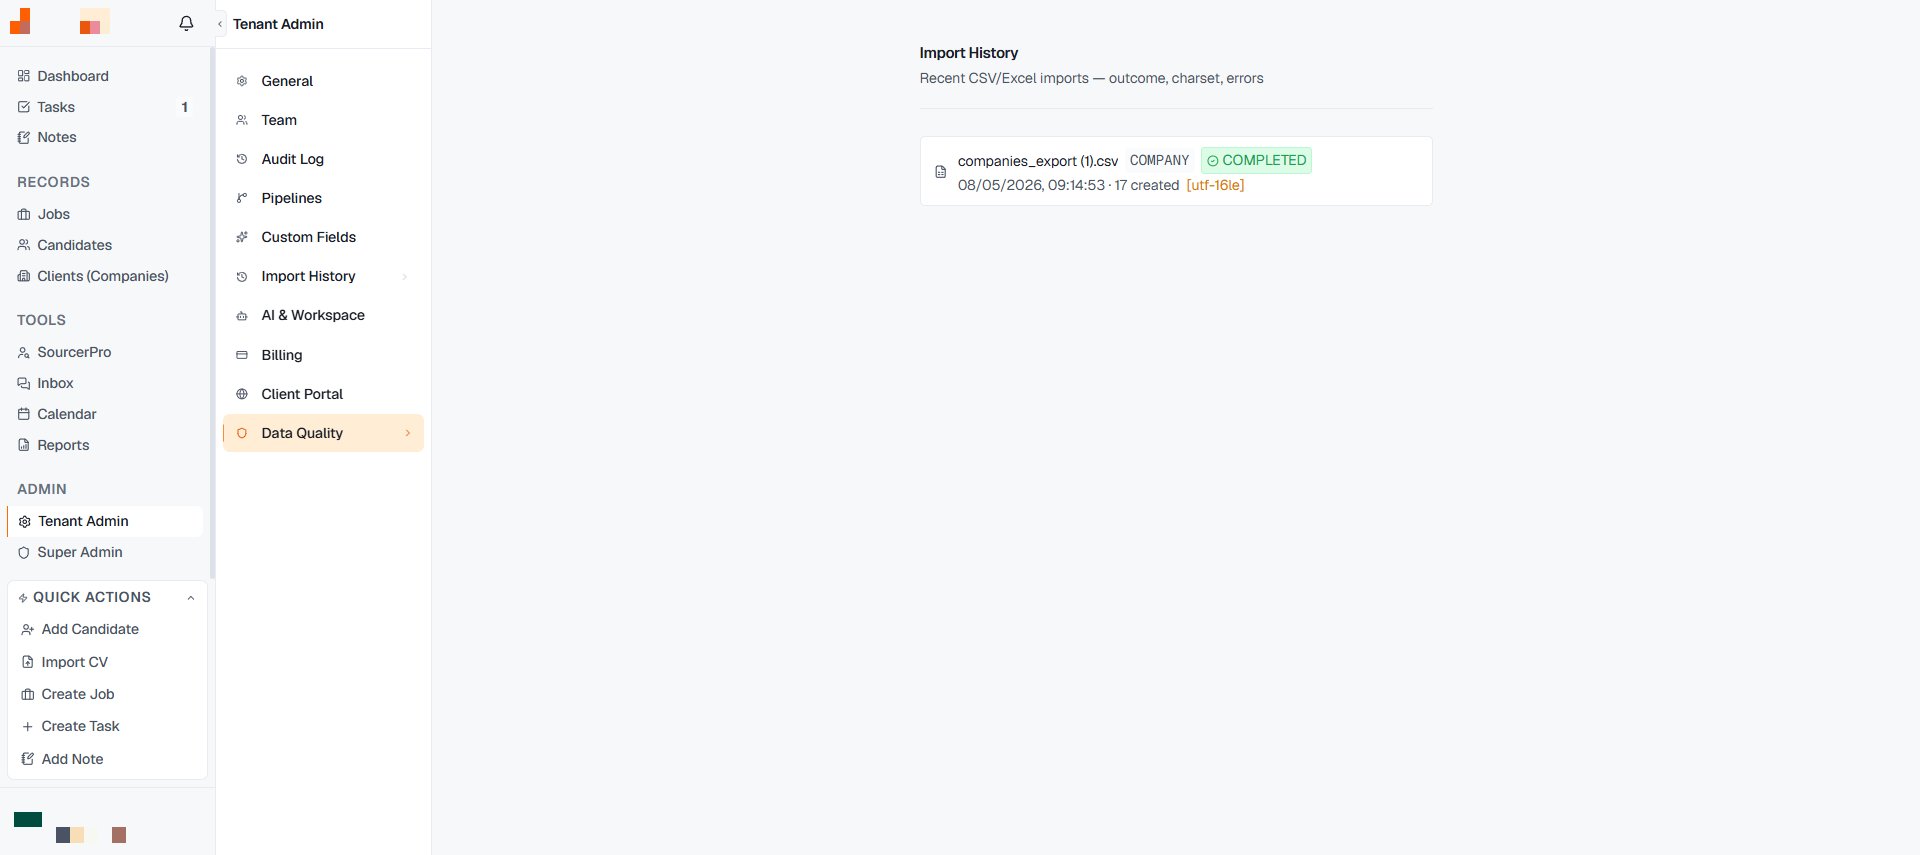
* **Everything is logged.** **Tenant Admin → Import History** records every run — what was created, merged and skipped — so you can prove what came in.
**Mapping is where migrations are won.** The wizard reads your headers and maps the obvious ones itself — names, emails, phones, LinkedIn, salary, availability, even billing fields. Anything it doesn't recognize you can map to one of your custom fields, or create a new custom field on the spot. Your mapping is remembered, so the second file with the same layout maps itself.
Three things happen on import that protect your data:
* **No duplicates.** A row matching an existing record by email, LinkedIn or phone is merged into it, never duplicated — and the merge adds information without erasing what's already there. Name-only matches are never auto-merged: two people can share a name.
* **Companies come along.** Company names in your candidate rows are matched against your client list; existing companies get linked, new ones are created automatically, and each imported candidate lands attached to theirs.
* **Everything is logged.** **Tenant Admin → Import History** records every run — what was created, merged and skipped — so you can prove what came in.
 ## Candidates from CV files
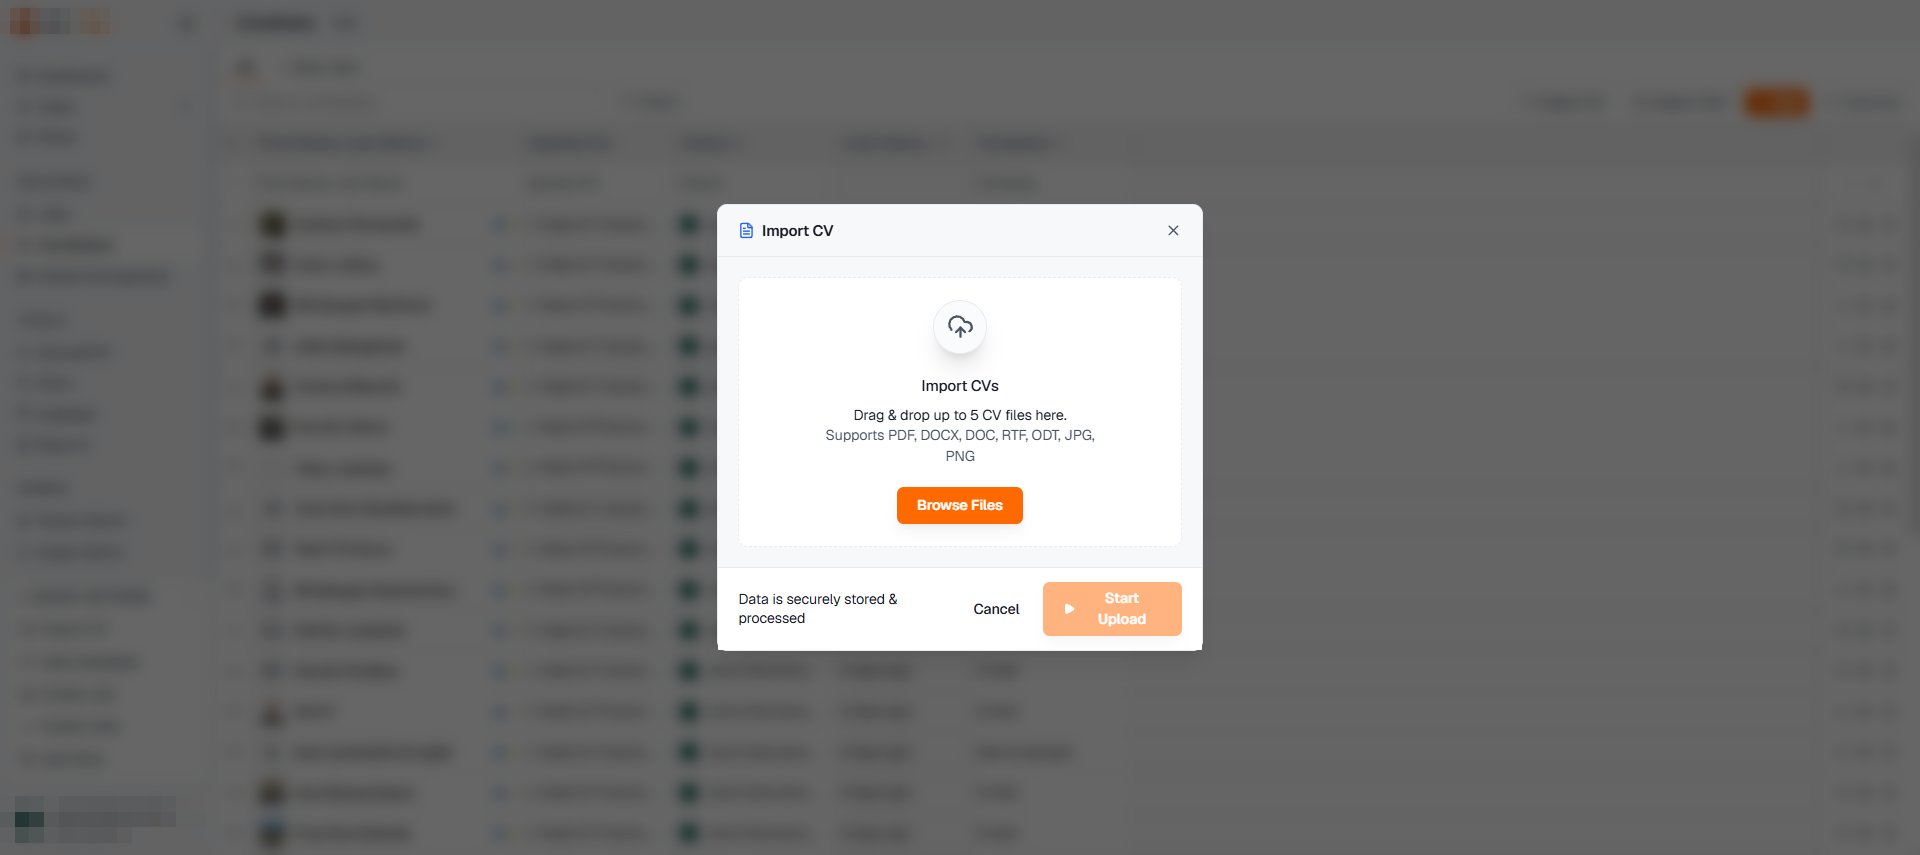
The stack of CVs that never made it into your old system is data too. **Candidates → Import CV** takes up to 20 files per batch — PDF, Word, RTF, ODT, even photographed CVs — and parses each one into a full candidate record: every role with its description, education, skills, languages and the candidate's summary. On Pro and Team plans a batch can be up to 1,000 files.
## Candidates from CV files
The stack of CVs that never made it into your old system is data too. **Candidates → Import CV** takes up to 20 files per batch — PDF, Word, RTF, ODT, even photographed CVs — and parses each one into a full candidate record: every role with its description, education, skills, languages and the candidate's summary. On Pro and Team plans a batch can be up to 1,000 files.
 The same duplicate protection applies: a CV of someone already in your database updates their record and attaches the file instead of creating a twin.
Parsed CVs feed everything else. The candidate's work history and summary are what AI features — portal criteria suggestions, matching, summaries — read. A candidate imported from a real CV is worth far more than a name-and-email row.
## LinkedIn profiles
The browser extension imports a full profile — headline, work history with descriptions, education, skills, languages — straight into Yena, and can drop the candidate onto a job's pipeline or into a list at the same time. For sourcing-driven firms this is the fastest way to keep building the database while you migrate. See [the extension guide](/en/sourcer/linkedin-extension).
## Clients and jobs
* **Clients:** **Clients (Companies) → Import CSV**. Name and domain are enough to start; the mapper also carries billing details (VAT, IBAN, addresses) if your export has them. Existing companies are recognized and skipped, not duplicated.
* **Jobs:** **Jobs → Import CSV** carries open roles with fees, project numbers and dates, linking each to its company by name. You can also scan a client's careers page from their company record to pull in their live vacancies as draft jobs.
## Full migration with our team
Spreadsheets can't carry your pipeline history. If you want to keep:
* **applications** — which candidate sat at which stage of which job,
* **notes** and attached files,
* **placements** and historical fees,
* **activity history**,
then take the managed route: you give us an export from your previous system, we map it, run a full rehearsal import first, and review the result with you before anything goes live. Your team keeps working; the switch happens when the data is verified.
[Contact us](https://www.yena.ai/contact) to plan a managed migration — knowing your old system's name and rough record counts is enough to start.
## After the import
Open a handful of imported candidates. Are they linked to the right company? Did custom fields land? Is the CV attached?
**Tenant Admin → Import History** shows created / merged / skipped counts per run. Skipped rows list their reason — fix the source and re-run just those.
**Data Quality** shows which records are missing the fields your reporting needs — the honest picture of what your old system actually held.
The old system's real job was the view you kept open all day. Rebuild it with [filters and a saved view](/en/workspace/views-filters-lists) — then retire the old system. Running both is how migrations die.
The same duplicate protection applies: a CV of someone already in your database updates their record and attaches the file instead of creating a twin.
Parsed CVs feed everything else. The candidate's work history and summary are what AI features — portal criteria suggestions, matching, summaries — read. A candidate imported from a real CV is worth far more than a name-and-email row.
## LinkedIn profiles
The browser extension imports a full profile — headline, work history with descriptions, education, skills, languages — straight into Yena, and can drop the candidate onto a job's pipeline or into a list at the same time. For sourcing-driven firms this is the fastest way to keep building the database while you migrate. See [the extension guide](/en/sourcer/linkedin-extension).
## Clients and jobs
* **Clients:** **Clients (Companies) → Import CSV**. Name and domain are enough to start; the mapper also carries billing details (VAT, IBAN, addresses) if your export has them. Existing companies are recognized and skipped, not duplicated.
* **Jobs:** **Jobs → Import CSV** carries open roles with fees, project numbers and dates, linking each to its company by name. You can also scan a client's careers page from their company record to pull in their live vacancies as draft jobs.
## Full migration with our team
Spreadsheets can't carry your pipeline history. If you want to keep:
* **applications** — which candidate sat at which stage of which job,
* **notes** and attached files,
* **placements** and historical fees,
* **activity history**,
then take the managed route: you give us an export from your previous system, we map it, run a full rehearsal import first, and review the result with you before anything goes live. Your team keeps working; the switch happens when the data is verified.
[Contact us](https://www.yena.ai/contact) to plan a managed migration — knowing your old system's name and rough record counts is enough to start.
## After the import
Open a handful of imported candidates. Are they linked to the right company? Did custom fields land? Is the CV attached?
**Tenant Admin → Import History** shows created / merged / skipped counts per run. Skipped rows list their reason — fix the source and re-run just those.
**Data Quality** shows which records are missing the fields your reporting needs — the honest picture of what your old system actually held.
The old system's real job was the view you kept open all day. Rebuild it with [filters and a saved view](/en/workspace/views-filters-lists) — then retire the old system. Running both is how migrations die.